Inquisitive, aren’t we? If you’ve got questions about design, coding or cake, then feel free to drop me a message


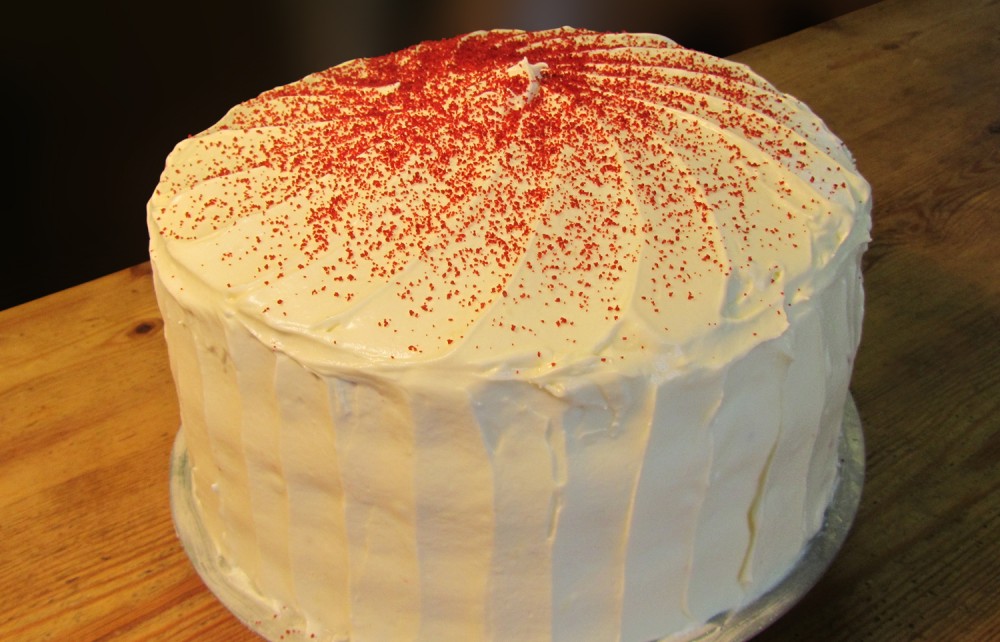
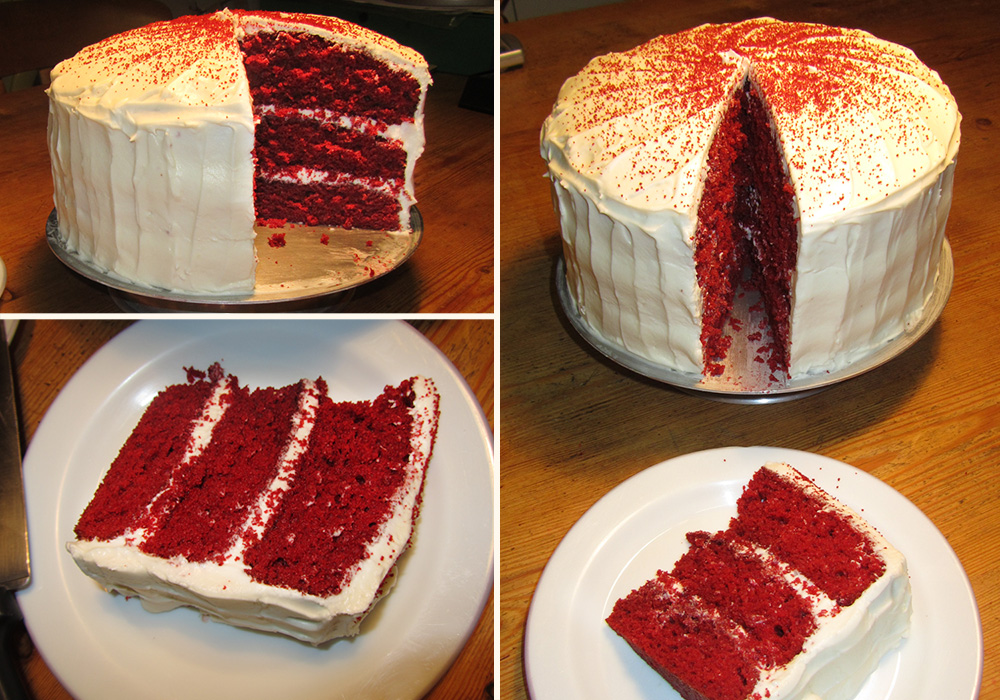
I own a lovely cake book called Cake Days by the lovely hummingbird bakery, and one of the recipes that stood out from the rest was their Red Velvet Cupcakes. According to the book it’s their bestselling flavour. A Red Velvet Cake looks very dramatic with its bright red inside colour that is offset by a pure white creamy frosting on the outside. I felt that this was a bit lost with small cupcakes so I adapted the recipe to make a triple layer cake of epic proportions!
Red Velvet Cake is also known as the “Devil’s Food Cake” which apparently is “because it is supposedly so rich and delicious that it must, to a moralist, be somewhat sinful.” Personally I’m not sure about that, but helping yourself to a piece of cake this tall, with luxurious creamy frosting laviously spread between each layer is sure to put you into your own little piece of heaven for as long as it takes to nom it all down!
To start making this Triple Layer Red Velvet Cake Recipe; Preheat oven to 350°F/175°C. Grease three 8 inch (20 cm) round cake tins and line the bottoms of the tins with greaseproof paper.
In a fairly large sized mixing bowl pour together the flour, salt, and cocoa powder and mix together.
Place the butter into another bowl and with an electric mixer beat the butter until it’s soft. Add the sugar and beat together until you have a mixture that’s light and fluffy. Add the eggs, one at a time, beating well after each one. It’s worth scraping down the insides of the bowl at this time as a lot of the mix can get splattered up there. Once you’ve got all the mix sorted, add the vanilla extract and beat until combined.
In a large mug or cup, add the red food colouring paste to the buttermilk – I’m not sure if this was because I’m English or just ignorant but I’d never heard of buttermilk, so if you’re like me and want to know what it is, buttermilk basically has a rich tangy buttery taste that makes baked goods tender. You can make your own buttermilk by adding 1 tablespoon of lemon juice to 240ml of milk. Let this mixture stand 5 to 10 minutes before using. Once you’ve added the buttermilk, whisk together (Make sure to keep the mixer on a low speed as red food colouring can be a knightmare to remove from clothing…don’t ask!). With the mixer still on a low speed, add the flour mixture and buttermilk to the butter mixture, in three seperate additions, beginning and ending with the flour.
In a small cup combine the vinegar and bicarbonate of soda and watch it go completly mental inside the cup! Once that fun’s over and you’ve allowed the mixture to fizz, quickly fold into the cake batter.
Working swiftly, divide the batter evenly between the three prepared tins and smooth the tops with a spatula or the back of a spoon. Bake in the preheated oven for approximately 25 – 30 minutes, or until a small skewer inserted in the center of the cakes comes out clean. Cool the cakes in their tins on a wire rack for about 10 minutes. Place a wire rack on top of the cake pan and turn it over, gently lifting off the tin. Once the cakes have completely cooled, put each cake layer into the refrigerator for at least an hour or two (I left mine overnight) so that the frosting is easier.
For the frosting, use an electric whisk set to a low speed to beat the butter and icing sugar together until no large lumps of butter remain and the mixture is sandy in texture. Add the cream cheese and mix together slowly until everything in incorporated, then increase the speed of the mixture a notch and beat the frosting until it is soft and fluffy.
Once ready, cover the top of one of the cakes with a layer of frosting. Place another layer of cake on top of the frosting and continue to frost and stack the cake layers. Frost the top and sides of the cake being careful not to pull through any red crumbs to ensure the icing gives no hint of the wonderful, bright red colour inside. I sprinkled a spare bit of the baked cake mix onto the top of the triple layer red velvet cake so that it had a sprinkle of red crumbs all over it.
