Inquisitive, aren’t we? If you’ve got questions about design, coding or cake, then feel free to drop me a message


The big day has arrived, the last cake recipe for 2012. Now the more observant among you might have noticed that this is also the thirteenth cake. ‘But isn’t the site called 12cakes.liam.local?’ Well, yes, but no decent baker would let one dozen equal twelve. There’s always room for a thirteenth cake to make it a proper baker’s dozen!
As it’s so close to Christmas, I decided to try baking something that would only normally be made around this time of year and a Chocolate Yule Log seemed like a suitable candidate. A traditional Yule log isn’t a cake at all – it’s an actual log that was burnt in the hearth as part of traditional Christmas celebrations. People would drag the log home through the streets to burn in celebration of the winter solstice and in hope for a good new year to come.
A chocolate log always looks really enchanting, captures the feel of winter and there is nothing hard to like about its tender, yummy chocolatiness, so why not try baking your own this winter? It doesn’t take long and it makes a great-looking, tasty dessert to put on a dinner table around Christmas.
Before touching the ingredients, line a baking tray or Swiss Roll tin (about 35cm x 25cm) with baking paper. Now start the chocolate log by making the sponge: Put all of the egg yolks in a bowl and beat for 1-2 minutes until they start to thicken. Add in the sugar and beat until the mixture becomes pale and leaves little peaks. This should take roughly about 5 minutes. Sift in the cocoa powder and mix together well.
Place the egg whites in a clean bowl. Using a clean whisk, beat the whites until they start to form soft peaks. This can take between 7-9 minutes of beating. Using a metal spoon or spatula, fold the egg whites into the chocolate mixture. Use a chopping action for the mixing.
Pour the finished sponge mix into the prepared baking tray and even it out with a spatula or spoon. Bake in the oven at 180°C for 20 minutes. Once cooked, remove the tray from the oven. The sponge should be slightly springy to the touch when you press it. Cover the cake with a damp tea towel and allow it to go cold – the damp tea towel is important as it stops the cake drying out while it is cooling!
Prepare the fudge: Melt the butter gently in a saucepan. Add the chocolate and stir until all of the chocolate is dissolved. Add the light brown sugar and stir to dissolve. Finally, add the milk and vanilla essence and stir to a smooth sauce. Pour the sauce into a bowl and place in the fridge for at least an hour to cool and become all fudgey.
Prepare the filling: Beat the double cream in a bowl until it becomes stiff (about 5 minutes).
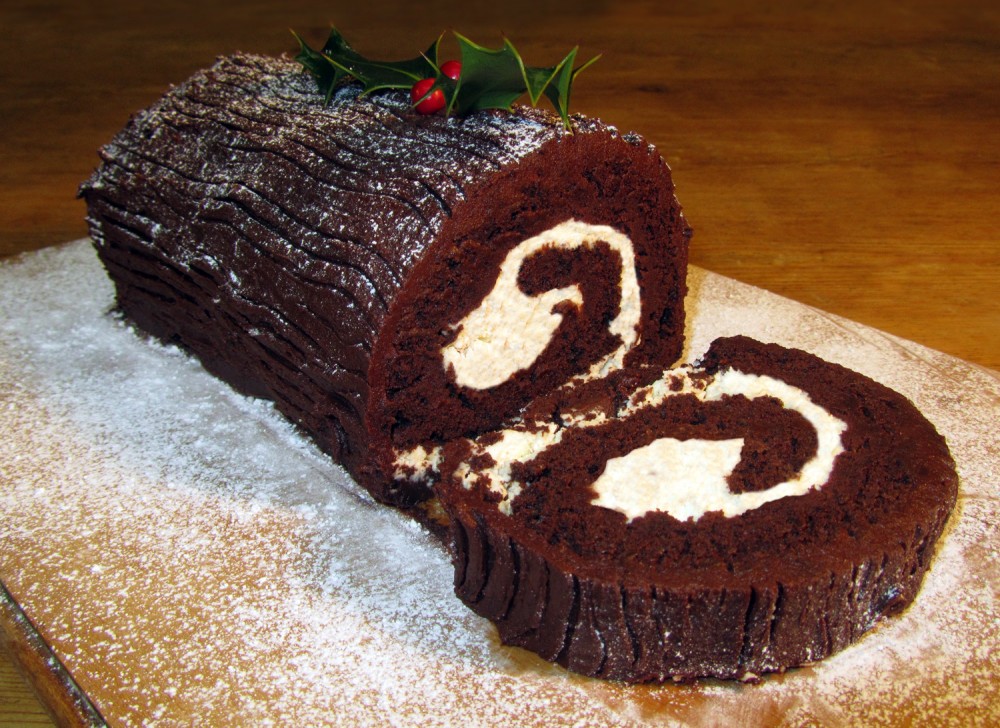
Cut out a large sheet of baking paper and sprinkle some icing sugar on top of it. Turn the sponge out onto the paper and carefully remove the paper from the back of the sponge. Spread a thin layer of fudge onto the sponge, then spread the cream filling onto the sponge. Starting from one of the narrower ends, use the baking paper to help you roll the sponge into a log. Roll it reasonably tightly as it should be quite flexible if the sponge came out well. Be carefuly to make sure that you don’t roll the paper into the sponge! The sponge may crack a little while you are rollling it, but that doesn’t matter too much as you’ll be covering it up anyway, but with care and patience you should get a perfect roll.
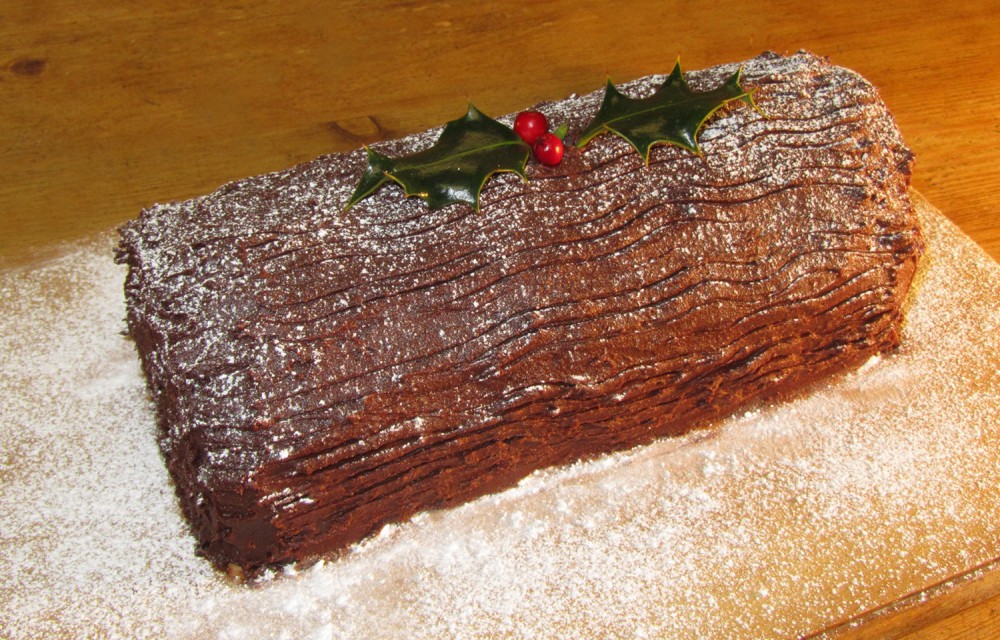
Trim the ends of the roll with a sharp knife to create level edges and then put the roll onto your serving plate, brush off any excess icing sugar and dollop the fudge onto the roll. Smooth with a damp butter knife. Use a fork to make some wavy bark lines and rings on the ends of the chocolate log and then clean up any excess fudge from the plate. Sprinkle on some icing sugar and place the chocolate log in the fridge for a few hours to set. You can also decorate it with some Christmas cake decorations or if you’re like me, a small sprig of holly.
